
Picture this: it’s a scorching July afternoon in Grand Prairie, and your thermostat screams “72°,” but the air that rolls out feels more like a lukewarm disappointment. That’s the moment every smart homeowner wishes they could avoid.
Regular HVAC testing isn’t just a nice‑to‑have—it’s the secret weapon that keeps your system from turning your comfort zone into a guessing game. A quick check today can save you from a costly repair tomorrow.
Because Grand Prairie’s heat can be relentless, the checklist we’re about to share is tuned to the local climate, the common wear patterns of our homes, and the quirks of the most popular units on the market.
Ready to see exactly what you need to look at, how often, and why each step matters? Dive in and discover the simple routine that will keep your home cool and your wallet happy.
Understanding Grand Prairie’s Climate Impact on HVAC Performance
Grand Prairie sits in a zone where summer temperatures regularly hit the high 90s, and humidity can feel like a wet blanket on your skin. Those scorching days force your air‑conditioner to work overtime, while the occasional winter dip pushes the furnace into high gear. The result? A system that’s constantly toggling between extremes, and that wear‑and‑tear shows up fast.
Key Climate Drivers
- High heat index – pushes compressors to their limits.
- Humidity spikes – force coils to fight condensation, leading to ice buildup.
- Rapid temperature swings – stress expansion joints and refrigerant lines.
When the outdoor air swings 40 °F in a single day, the thermostat’s “smart” algorithms scramble to keep the indoor setpoint steady. That juggling act can mask underlying problems, like a clogged filter or a leaky duct, until they explode into a costly repair. Knowing how the local weather stresses each component lets you catch the warning signs before they become a nightmare.
Essential Monthly and Seasonal Inspection Tasks for Smart Homeowners
Monthly Must‑Do Checks
Every month, give your system a quick once‑over. It’s the habit that catches dust before it becomes a problem.
- Turn off the power and remove the front panel to peek at the blower wheel. Look for debris or bent blades.
- Swap out the air filter if it’s more than 70% dirty. A clean filter keeps airflow steady and your energy bill low.
- Listen for odd noises when the fan kicks on. Rattles or squeaks often mean a loose screw or a worn bearing.
Seasonal Deep‑Dive
Spring and fall are the perfect windows for a deeper dive. The weather is mild, so the system can run long enough to reveal hidden issues.
- Inspect the condensate drain line. Flush it with a cup of bleach and water to prevent clogs that cause water damage.
- Check refrigerant lines for frost or oil stains. Any sign of a leak should trigger a professional service call.
- Calibrate your smart thermostat. Sync it with the outdoor sensor and run a 24‑hour test to verify temperature accuracy.
Pro tip: set a calendar reminder on your phone or smart hub. When the alert pops up, you’ll already know exactly what to do, and you’ll avoid the scramble when the next heat wave hits Grand Prairie.

How to Test and Calibrate Your Thermostat and Smart Controls
Step 1 – Verify power and connectivity
First, make sure the thermostat is getting clean power. Check the breaker, then look for a steady LED or display glow. If it’s a Wi‑Fi model, open the app and confirm it’s online; a red “offline” badge means you’ve got a communication snag.
Step 2 – Run a temperature accuracy test
Grab a reliable digital thermometer and place it about three feet from the vent, away from direct drafts. Set the thermostat to 70°F and let the system run for 15 minutes, then compare readings.
- If the difference is under 2°F, you’re good to go.
- If it’s more than 2°F, note the offset and move to calibration.
Step 3 – Calibrate the thermostat and smart features
Most modern units let you enter an offset value right in the settings menu. Add the number you recorded (e.g., +3°F) and save. For smart controls, run the “learning” routine in the app – it will watch how long the system takes to reach the set point and adjust start‑up timing accordingly.
Finally, schedule a weekly check in the app. A quick glance at the “system health” screen will flag low battery, sensor drift, or firmware updates before they become a problem.
Evaluating Airflow, Filters, and Ductwork Efficiency
Feel the Breeze
Start by standing at each vent and feeling the air. If one room feels like a draft while another feels dead, the flow is off. Grab a simple anemometer or even a piece of tissue—watch how quickly it lifts.
Quick sanity check:
- All supply vents should deliver a steady, even stream.
- Return grilles must pull air without whistling.
- Any noticeable drop in pressure? Note the room.
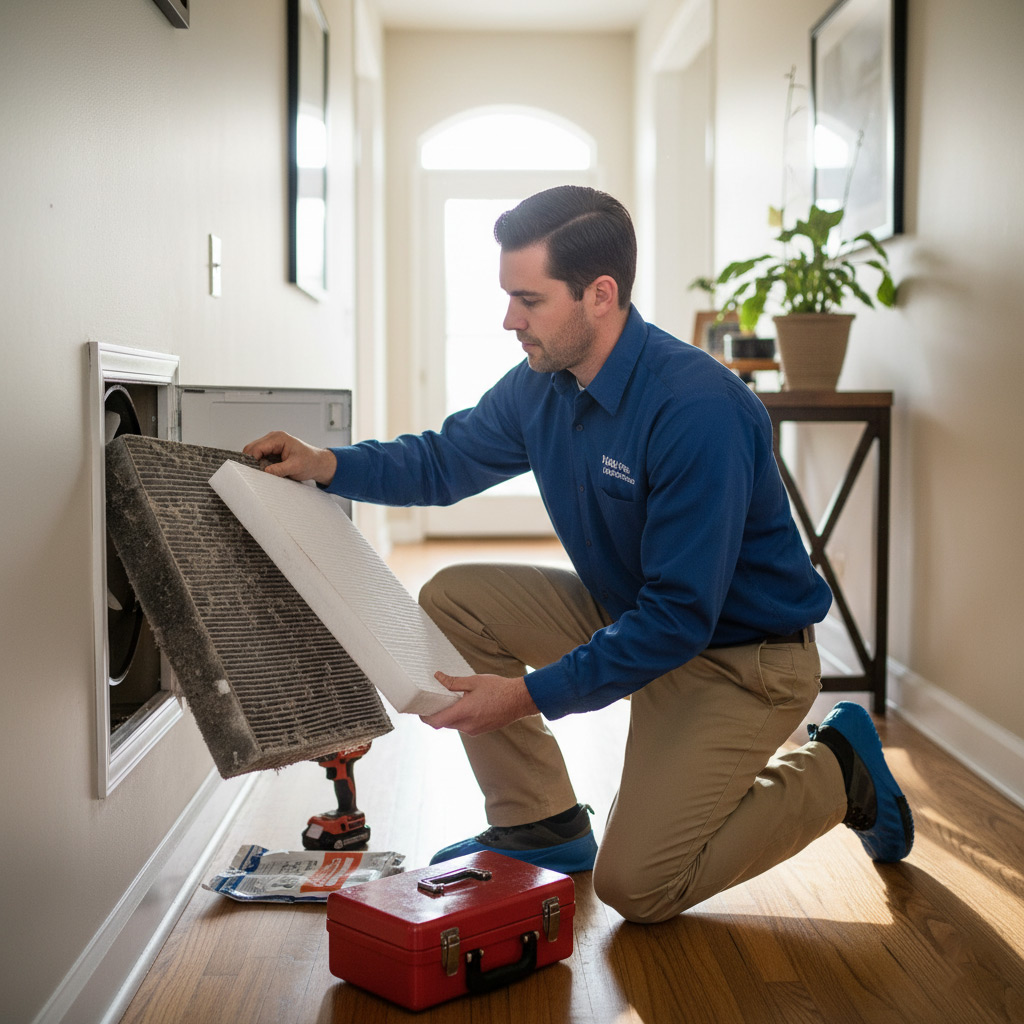
Filter Fitness
Filters are the unsung heroes that keep dust from choking your system. In Grand Prairie, the pollen season and sandstorms mean you’ll likely swap them every 30‑45 days.
When you pull the filter out, look for:
- Visible dirt buildup—if you can see it, it’s time to replace.
- Discoloration or a musty smell—signs of mold.
- Correct size and MERV rating—don’t cheat with a lower rating to save money.
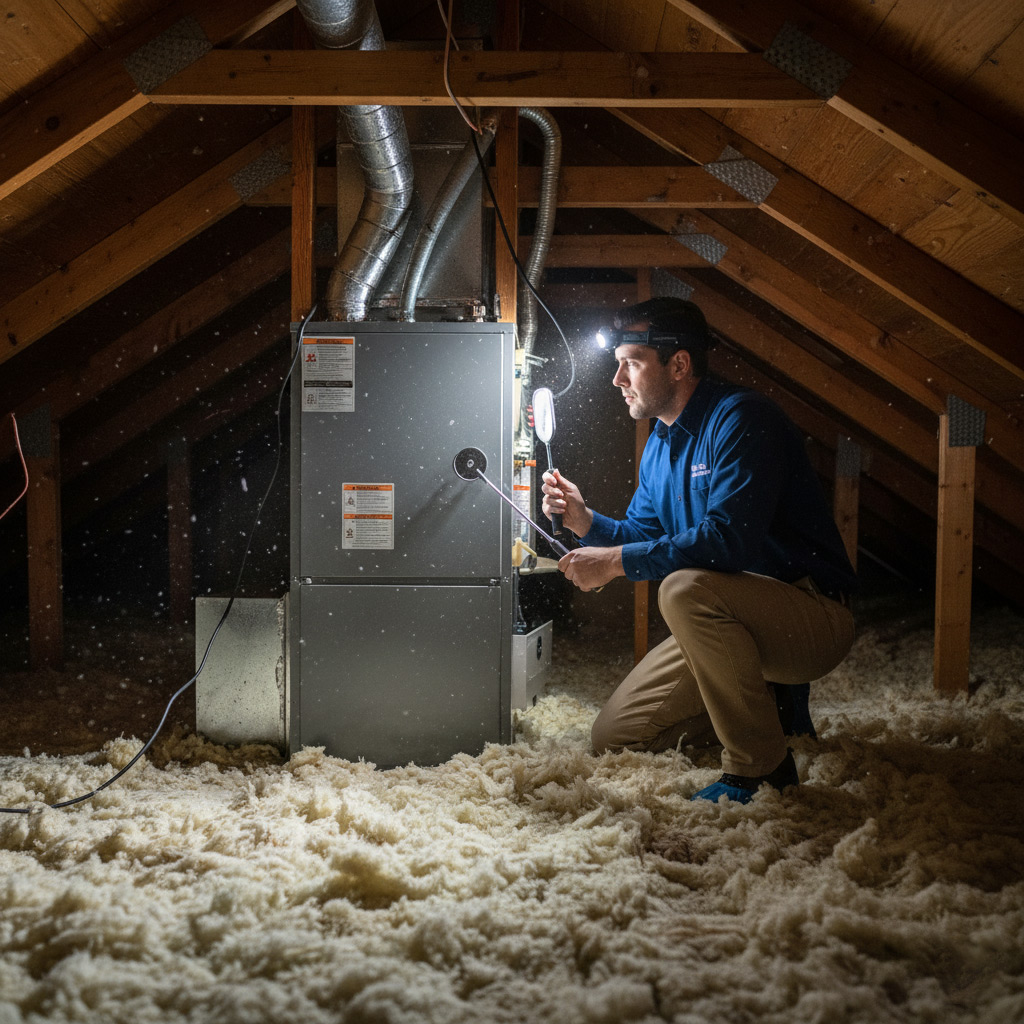
Seal the Ducts
Leaky ducts are money‑leaking monsters. Walk the attic or crawlspace with a flashlight; any loose metal or ragged insulation is a red flag.
Fixes you can do yourself:
- Apply foil‑backed duct tape to small gaps.
- Use mastic sealant for larger seams.
- Insulate exposed runs to keep the air temperature steady.
After sealing, run the fan for a few minutes and re‑check the airflow. You should feel a noticeable boost at the vents.
Spotting Early Warning Signs: Common Faults in Popular HVAC Models
Listen to the Machine
When your unit starts humming like a busted blender, that’s a red flag. Rattling, squealing, or a high‑pitched whine often means a loose belt, worn motor bearings, or a failing blower wheel.
Pay attention to how quickly the sound changes after you adjust the thermostat. A sudden silence could signal a compressor that’s about to quit.
- Buzzing – usually a capacitor issue.
- Click‑click‑click – thermostat or relay trying to start.
- Hissing – refrigerant leak or low pressure.
Watch the Numbers
Smart thermostats give you data; don’t ignore it. If the temperature swing exceeds 5°F in a short span, the system is struggling to keep up.
Check error codes on the control board; a flashing LED often translates to a specific fault that the service manual can decode.
- High energy usage spikes – dirty coil or clogged filter.
- Frequent short‑cycle alerts – low refrigerant or oversized unit.
- Low airflow readings – duct leak or fan motor wear.
Model‑Specific Red Flags
Each brand has its own quirks, and knowing them saves you a call to the repair guy.
For example, Trane’s “R-410A” systems love to develop a faulty pressure switch, while Carrier units often suffer from a cracked condensate pan that leads to water damage.
- Lennox – unreliable ignitor on gas furnaces.
- Goodman – compressor overload protector trips under high heat.
- Rheem – sensor coil corrosion causing inaccurate temperature readings.
Case Study: Preventative Testing Saves a Grand Prairie Family $2,500 in Repairs
The Test That Turned the Tide
When the Martinez family noticed a slight chill on the second floor, they called a local tech for a quick diagnostic. The technician ran a full airflow check, inspected the coil, and calibrated the smart thermostat—all in under an hour.
What he found was a clogged evaporator coil that, if left unchecked, would have forced the compressor to work double time. Replacing the coil early cost them $300, but it stopped a chain reaction that could have shredded the entire unit.
How the Savings Added Up
By catching the problem early, the Martinezes avoided three major repair tickets that would have hit their wallet hard.
- Compressor replacement: $1,800 – a nightmare for any homeowner.
- Emergency service call: $250 – the premium you pay for a midnight fix.
- Energy waste: $150 per month in higher bills, roughly $1,800 a year.
Subtract the $300 coil fix, and the family walked away with a **$2,500** cushion in their budget. That’s the power of a simple, scheduled test.
Final Words
Think of your HVAC system as a high‑performance car. Regular check‑ups keep it humming, and skipping them is like driving on flat tires. The checklist you just walked through is your pit crew—simple, repeatable, and cheap compared to a breakdown.
Quick action items
- Mark your calendar for the monthly filter swap and the seasonal full‑system test.
- Set a reminder on your smart thermostat to run a self‑diagnostic after each extreme weather swing.
- Schedule a professional inspection at least once a year—preferably before the summer peak.
When you treat HVAC testing like a habit, you’ll notice the difference the first time the house stays cool without the thermostat screaming. Need a second pair of eyes? Our HVAC Testing and Inspection team in Grand Prairie is ready to back you up, no fluff, just results.
People Also Ask
How often should I test my HVAC system in Grand Prairie’s climate?
A smart homeowner should perform a quick visual inspection monthly and a thorough performance test seasonally (spring and fall). This schedule helps catch temperature swings and humidity changes typical of Grand Prairie weather.What are the key steps to calibrate a smart thermostat?
First, verify the thermostat’s location is away from direct sunlight or drafts. Then run the built‑in calibration routine or compare the displayed temperature to a reliable thermometer, adjusting the offset as needed.Which HVAC components need the most attention during a seasonal inspection?
Focus on the air filter, condenser coils, and outdoor fan motor. Clean or replace filters, clear coil debris, and ensure the fan spins freely to maintain optimal airflow.How can I detect early signs of duct leakage?
Feel for uneven airflow at vents and listen for whistling noises when the system runs. A simple smoke test or a professional duct pressurization test can confirm leaks before they cause efficiency loss.What cost savings can result from preventative HVAC testing?
Regular testing can identify minor issues before they become major repairs, often saving homeowners hundreds to thousands of dollars. The case study in Grand Prairie showed a $2,500 repair bill avoided through early detection.Grand Prairie HVAC brings over 15 years of residential and commercial climate‑control expertise to the Grand Prairie community. Their team of certified technicians delivers reliable heating, cooling, and indoor‑air‑quality solutions tailored to local needs. Committed to responsive service, they keep homes and businesses comfortable year‑round.
Need HVAC?
We provide rapid, results‑driven solutions for Grand Prairie, TX (75050, 75051, 75052) and neighboring communities. Our focus is delivering the outcomes you need, fast.
Request a fast quote