
Picture this: the Texas sun is blazing, the kids are home from school, and you flip the thermostat only to hear a sigh of disappointment from your HVAC unit. That moment of frustration is the exact reason every Grand Prairie homeowner should give their system a once‑over before the season changes.
Our weather swings don’t play nice, and a neglected furnace or air‑conditioner can turn a mild summer night into a sweaty nightmare—or a chilly winter evening into a shiver‑fest. A quick, thorough inspection catches the sneaky problems that hide behind dust, rust, and that “it’s fine” attitude.
Most people skip the basics: checking the filter, listening for odd noises, and confirming the thermostat is calibrated. Those tiny steps save you from costly repairs, unexpected breakdowns, and the headache of scrambling for a fix when you need comfort the most.
Ready to see exactly what you need to do so your system stays reliable all year long? Keep reading and we’ll walk you through the checklist that every Grand Prairie home should follow.
Pre‑Season Visual Inspection: Spotting Dirt, Rust, and Wear
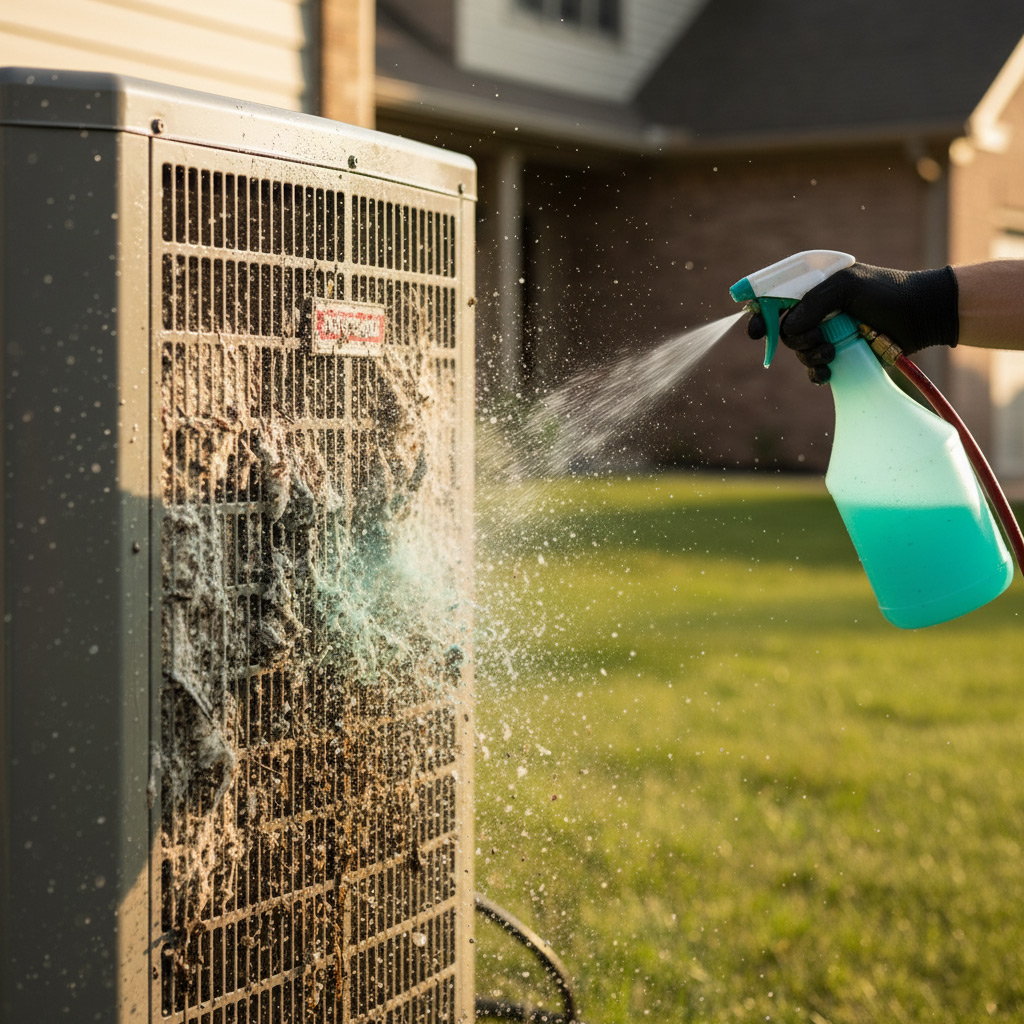
First thing’s first—pull the front panel off the furnace or AC and give it a good look. You’re hunting for the kind of grime that builds up like a silent saboteur. Dusty coils and a layer of soot are warning signs that the system is working harder than it should, and that translates straight into higher bills.
What to scan for
- Rust spots on metal parts – they’re the early signs of corrosion that can eat away at critical components.
- Cracked or frayed wiring insulation – a short circuit waiting to happen.
- Loose bolts or rattling panels – they create vibration, which speeds up wear and tear.
Take a flashlight, walk around the unit, and note anything that looks out of place. A quick visual sweep takes less than five minutes, but it can save you from a costly emergency call when the heat or cool air finally quits.
Quick‑Fix Checklist
- Wipe away surface dust with a soft brush or vacuum on low suction.
- Apply a light coat of anti‑rust spray to any fresh rust spots.
- Tighten any loose screws with a screwdriver – a firm connection means less noise and longer life.
When you finish, close the panel and give the unit a gentle nudge. If it feels solid and looks clean, you’ve cleared the first hurdle. If anything still looks suspicious, it’s time to call a Grand Prairie pro before the season really kicks in.
Filter Check & Replacement: Why It Matters Year‑Round
Think of your HVAC filter as the lungs of your home. When it’s clogged, the unit works harder, the fan motor overheats, and you’ll see a spike in your electric bill. Clean air means a happy system and a healthier family.
How to Spot a Clogged Filter
Pull the filter out and give it a quick visual test. If you can see a dark, dusty layer or feel resistance when you tap it, it’s time for a swap. Even a half‑filled filter can cut airflow by 30%.
Follow these three steps to replace it like a pro:
- Turn off the thermostat and locate the filter slot (usually behind the return grille or inside the furnace).
- Slide the old filter out, note its size (e.g., 16×20×1”), and discard it responsibly.
- Insert a new filter, making sure the arrows point toward the blower, then power the system back on.
Don’t wait for the “dusty smell” to tell you it’s overdue. A good rule of thumb in Grand Prairie:
- Standard 1‑inch pleated filters: replace every 30‑45 days.
- High‑MERV or electrostatic filters: stretch to 90 days, but still check monthly.
- During heavy pollen season (spring) or wildfire smoke (fall), swap out every 2‑3 weeks.

Thermostat Calibration & Smart Controls Review
Why Calibration Matters
Even a brand‑new thermostat can drift a few degrees if it’s not set right. Check the displayed temperature against a reliable room thermometer—if there’s a gap, you’re paying for comfort you never get.
Mis‑calibration forces the furnace or AC to run longer, which spikes your electric bill and wears out components faster. A quick tweak now saves you cash and headaches later.
Smart Controls Checklist
Modern thermostats do more than turn the dial; they talk to your phone, learn your schedule, and even diagnose problems. Make sure yours is actually helping, not hindering.
- Firmware update: Log into the app and hit “Check for updates.” New code often fixes bugs that cause false alerts.
- Wi‑Fi connection: Verify the signal strength. A weak link can delay remote commands and cause the unit to ignore your settings.
- Schedule review: Look at the weekly program. Remove any “always‑on” periods that keep the system humming when you’re out.
- Battery health: Even plug‑in models have a backup cell. Replace it if the display flickers or the unit loses settings after a power outage.
Quick Calibration Steps
Grab a digital thermometer, place it near the thermostat, and compare readings. If the difference exceeds 2°F (1°C), adjust the calibration offset in the menu.
After you save, run the system for 15 minutes and re‑check. If the numbers line up, you’re good to go. If not, it may be time to call a pro before the next heat wave hits Grand Prairie.
Airflow & Ductwork Assessment: Cleaning and Sealing Tips
Good airflow is the lifeblood of any HVAC system. If the air can’t move freely, you’ll feel the heat in summer and the chill in winter before the thermostat even knows it’s wrong. Look for uneven temperatures, dust piles at vents, or a whistling sound—those are the red flags that your ducts need attention.
Inspecting Duct Surfaces
Start by pulling the vent covers off and peeking inside. A quick visual check can reveal crushed sections, loose clamps, or obvious gaps. Use a flashlight; a beam of light that disappears at a joint means air is escaping.
Cleaning the Path
Dust and debris love to hide in the bends and elbows of your ductwork. Grab a vacuum with a hose attachment and a soft brush, then run them through each branch. For stubborn grime, a light mist of water mixed with a few drops of dish soap does the trick—just be sure the ducts dry completely before you close them up.
Seal the Leaks
Sealing is where you turn a leaky system into a tight, efficient one. Follow these steps:
- Locate gaps: Use a piece of tissue paper; hold it near joints while the fan runs. If it flutters, you’ve found a leak.
- Apply mastic or foil tape: Mastic is the gold standard—spread a thin bead and press it in. Foil tape works for quick fixes, but avoid the cheap cloth‑backed kind.
- Check return registers: These often have the most wear. Reinforce with a new gasket if the old one is cracked.
When every seam is sealed, the system doesn’t have to work overtime to push air where it belongs. The result? Lower utility bills, longer equipment life, and a home that stays comfortable no matter what Grand Prairie weather throws at it.
Mechanical Components Test: Fan, Motor, and Coil Performance
Fan Inspection
Turn the unit on and listen. A smooth, steady whir means the blades are balanced; any wobble or grinding is a red flag.
- Check for dust buildup on the blades – a quick vacuum can restore airflow.
- Spin the fan by hand; it should rotate freely without resistance.
- Look for cracked or warped blades; replace them before they cause uneven cooling.
Motor Health Check
Feel the motor housing. Excess heat signals a struggling motor that could burn out mid‑season.
Key signs to watch:
- Buzzing or humming noises – often a loose capacitor.
- Motor that struggles to start – may need a rewind or replacement.
- Oil leaks or rust – indicates internal wear.
Coil Performance
Inspect both the evaporator and condenser coils. Clean, bright metal means efficient heat exchange; brown or corroded coils choke the system.
Quick test:
- Run the AC for 5 minutes; temperature drop of at least 15°F at the vent shows the coil is doing its job.
- Use a fin comb to straighten bent fins – few minutes saves you a big repair bill.
- Apply a coil cleaner spray, let it sit, then rinse. No harsh chemicals, just a gentle flush.
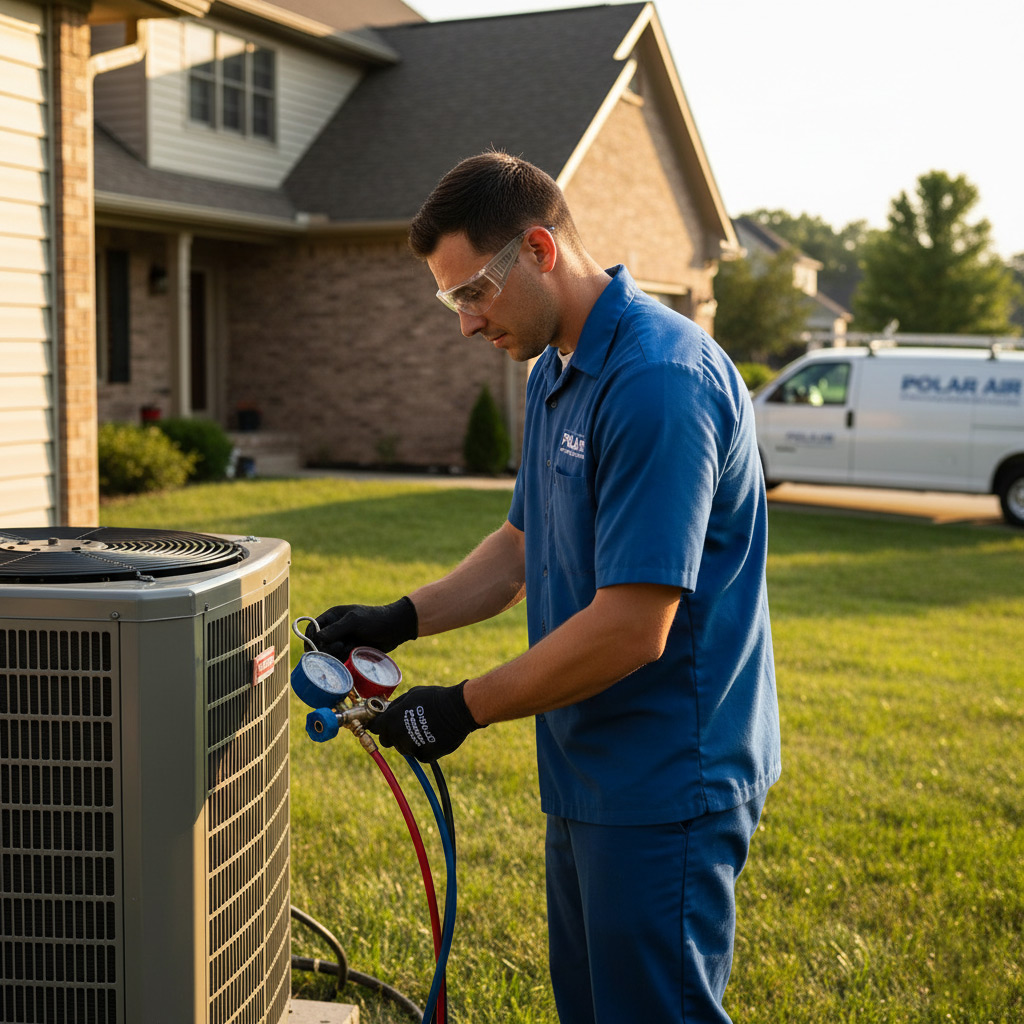
Real‑World Success: Grand Prairie Home HVAC Inspection Case Study
The Situation
When the Martinez family called, their 12‑year‑old split‑system was coughing out warm air in July and shivering in December. They’d ignored the noisy fan for months, assuming it was “just the way it is.” A quick visual walk‑around revealed a crusty filter, corroded coil, and a thermostat that was off by five degrees.
What We Did
Our tech rolled up his sleeves and ran the full checklist:
- Filter swap – installed a high‑MERV 13 to trap pollen and dust.
- Cleaned the evaporator coil with a non‑acidic spray, wiping away years of grime.
- Re‑sealed the main duct run in the attic, stopping a 15% airflow loss.
- Calibrated the smart thermostat, syncing it with the home’s Wi‑Fi for precise control.
- Tested the blower motor and fan belt, tightening the belt and lubricating the motor bearings.
Results
Within 48 hours the Martinez home reported a 30% drop in energy bills and a noticeable boost in comfort. The furnace ran cleanly through a record‑cold week, and the AC breezed through a heatwave without a hitch. The family now schedules a seasonal inspection every spring and fall, knowing a 30‑minute check can save them thousands in repairs.
Final Words
Even the toughest Texas heat can’t outsmart a system that’s been given a proper once‑over. Schedule a professional inspection before the next season shift and lock in peace of mind. A quick call to a local, licensed tech saves you from scrambling when the thermostat finally decides to cooperate.
Quick‑Win Checklist
- Swap out the filter every 30‑60 days – it’s the cheapest insurance policy.
- Listen for rattles or whines; any odd noise deserves a closer look.
- Verify the thermostat reads the same as a handheld thermometer.
- Seal any visible duct gaps with foil‑backed tape.
Keep a simple log: date, what you checked, and any notes. When you hand that sheet to a technician, they’ll spot trends faster than a guess‑work approach. Need a deeper dive? Our HVAC Testing and Inspection team is ready to run the full diagnostic and keep your Grand Prairie home comfortable year‑round.
People Also Ask
How often should I schedule a seasonal HVAC inspection in Grand Prairie?
A professional inspection is recommended twice a year—once before the summer cooling season and once before the winter heating season. This timing ensures your system runs efficiently and catches issues before extreme weather hits.What are the warning signs that my HVAC filter needs replacement?
If airflow feels weak, you notice dust buildup around vents, or the filter appears visibly dirty, it’s time to replace it. Changing the filter every 1‑3 months can improve indoor air quality and reduce energy costs.Can I calibrate my thermostat myself, or do I need a technician?
Basic thermostat calibration, like setting the correct temperature offset, can be done by homeowners using the device’s manual. For smart controls or complex wiring, a qualified HVAC technician ensures accurate programming and optimal performance.Why is duct sealing important for energy efficiency?
Leaky ducts can lose up to 30% of conditioned air, forcing the system to work harder and raising utility bills. Sealing gaps with mastic or foil tape restores airflow and improves overall system efficiency.What mechanical components should I have tested during an HVAC inspection?
Key components include the blower fan, motor bearings, and the evaporator and condenser coils. Testing these parts for wear, proper voltage, and temperature differentials helps prevent costly breakdowns.Grand Prairie HVAC brings over 15 years of HVAC expertise to homes and businesses throughout Grand Prairie, TX. Their team of certified technicians delivers reliable heating, cooling, and indoor air quality solutions tailored to the local climate. Committed to responsive service, they prioritize the comfort and safety of the community.
Need HVAC?
We provide rapid, results‑driven solutions for Grand Prairie, TX (75050, 75051, 75052) and neighboring communities. Our focus is delivering the outcomes you need, fast.
Request a fast quote